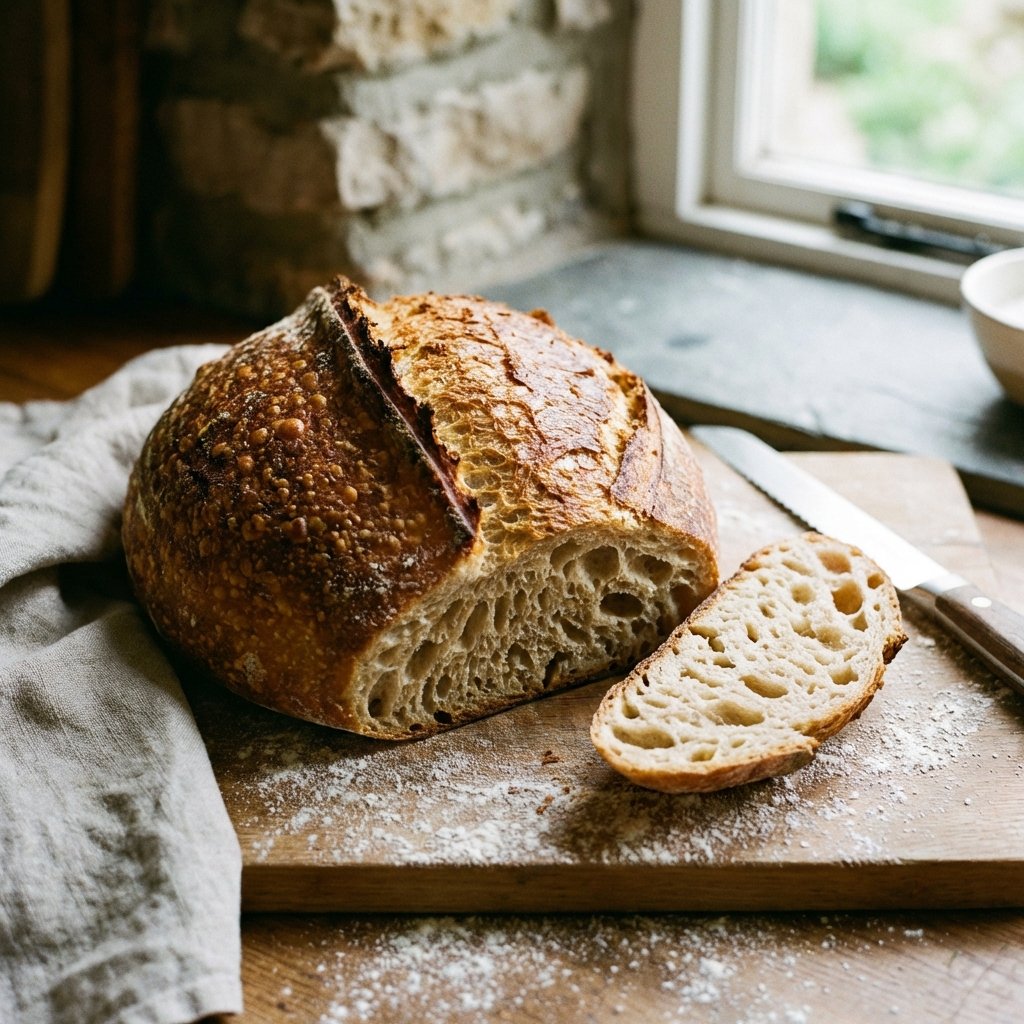
Sourdough baking can feel intimidating — the hours, the starter, the rituals — but at its core it's just patience, attention, and a little practice. This guide walks you through a classic, high-hydration sourdough that yields a crisp, caramelized crust and an open, glossy crumb. The method focuses on building flavor through a long, gentle fermentation rather than complicated techniques.
About the starter
A healthy, active starter is your engine. Feed it regularly in the days leading up to baking and use it when it’s at peak activity (bubbly and roughly doubled). If you don’t have one, you can make a starter with equal parts flour and water, fed daily. Expect at least 7–10 days to establish a reliable starter if starting from scratch.
Ingredients
- 500g bread flour (or 400g bread flour + 100g whole wheat)
- 375g water (75% hydration — adjust by feel)
- 100g active sourdough starter (100% hydration)
- 10g fine sea salt
Method — overview
- Autolyse: Mix flour and water until no dry bits remain. Cover and rest 30–60 minutes.
- Mix: Add starter and salt. Incorporate and rest 10 minutes. Use stretch-and-fold technique every 30 minutes for 2 hours (3–4 folds).
- Bulk fermentation: Leave the dough at room temperature until it has risen 20–40% and shows bubbles (times vary with temperature — overnight in cool kitchens, 3–4 hours in warm).
- Pre-shape and bench rest: Turn dough out, pre-shape into a round and rest 20–40 minutes uncovered.
- Final shaping: Shape tightly into a banneton or bowl lined with a floured tea towel. Place seam-side up and refrigerate for 12–24 hours for a cold retard (for flavor and scoring ease).
- Bake: Preheat a Dutch oven at 245°C (475°F) for 45 minutes. Carefully transfer dough seam-side down into the hot pot, score, cover, and bake covered for 20 minutes; reduce temperature to 230°C (450°F), bake another 10 minutes covered, then remove lid and bake 10–15 minutes until deep golden.
Stretch-and-fold technique
To strengthen the dough without intensive kneading, wet your hands, lift one side of the dough, stretch it up and fold it over. Rotate the bowl and repeat 4 times. This builds gluten gradually and preserves gas pockets for an open crumb.
Tips for success
- Hydration matters: wetter dough leads to more open crumb, but is trickier to handle. If you’re new, drop to 68–70% hydration and practice.
- Temperature is key: cooler fermentations (retards) bring more flavor. If it’s hot, bulk fermentation will be short — watch the dough, not the clock.
- Use steam for a blistered crust: the covered Dutch oven traps steam; if baking freeform, add a tray of hot water to the oven.
- Scoring: use a sharp lame or razor to make confident, decisive cuts; shallow cuts simply open less and can deflate the oven spring.
"Baking sourdough is equal parts science and ritual. The first few loaves may not be perfect, but each will teach you something new."
Serving and storage
Cool completely before slicing to avoid tearing the crumb — though the aroma will tempt you. Store in a paper bag for 1–2 days, or freeze slices in airtight bags for longer storage. Toasting revives a slightly stale loaf beautifully.